
These days there are a ton of different steering options for boats to use. Mechanical, Hydraulic, Electric, Power Steering, but which one is best?
To answer that we can break it down into two groups, mechanical vs hydraulic. In this article, we will stick with the mechanical portion, so that we can help out when deciding on which one to use in your boat.
Rotary Vs. Rack and Pinion Boat Steering: Which is Better? Rack and Pinion steering systems are more precise than Rotary cable systems. They utilize a gear on gear system, where Rotary utilizes a Gear on Cable. This can leave slop in the steering. Both systems have benefits that can help you determine which is the best fit for you.
This article will help you understand what the differences between these two systems are, along with their benefits and some troubleshooting tips.
Understanding How Mechanical Steering Operates
Starting with the fundamentals of the steering system will help us decide which steering system is better for you, your boat, and the engine that you have.
Mechanical steering is pretty basic. We have a solid cable that is attached to the engine and to a helm, which has the steering wheel.
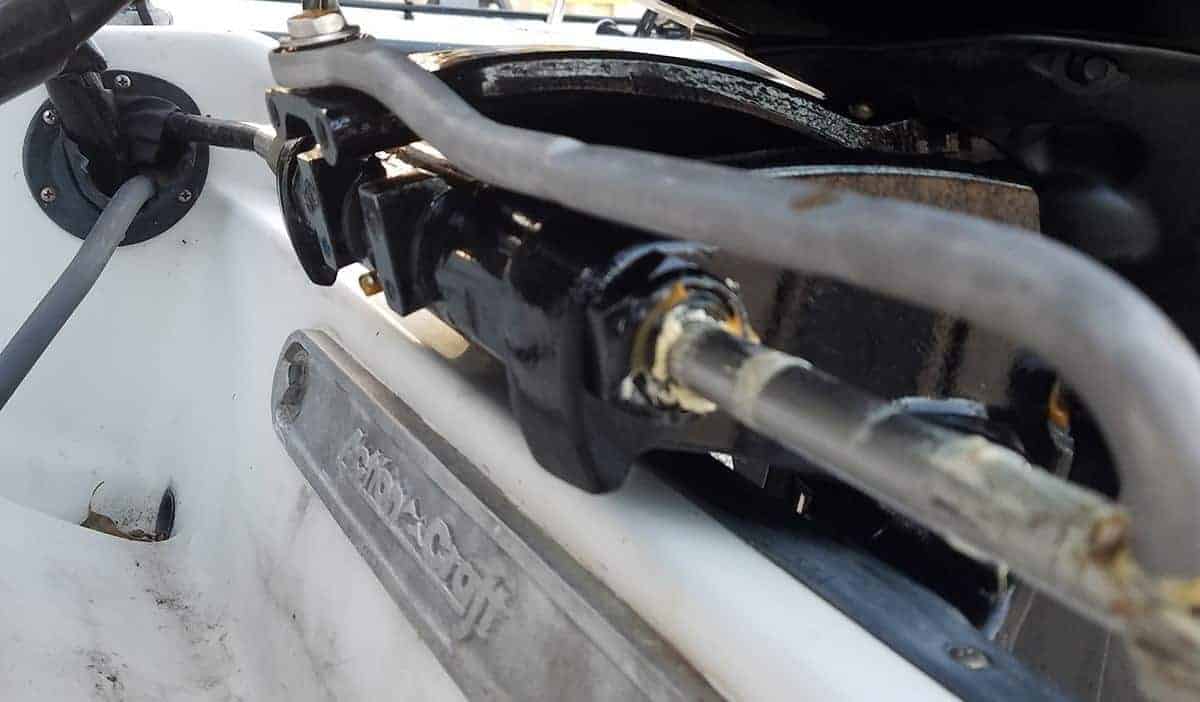
On an outboard application, the cable goes through the engine mounting bracket. Then has a metal arm with a 90-degree bend in it.
This arm connects the steering arm bracket that is located in the middle of the engine and attaches to the belly pan of the motor, which houses the power head.
Then it attaches the other end of the arm to the cable. The cable is held in place to the engine mounting bracket by a large nut that is built into the cable.
This nut tightens to the bracket and the other end of the bracket, where the cable is coming out. It also has another nut that helps to keep dirt and debris out of this space.
It is super important to heavily lube and grease this cable whenever it is installed to help prevent it from freezing up. We will talk about this later on when we discuss troubleshooting.
The cable is allowed to move freely inside of its sheath, which is what is screwed to the engine bracket. As the cable moves in or out, it moves that arm, thus, turning the engine back and forth.
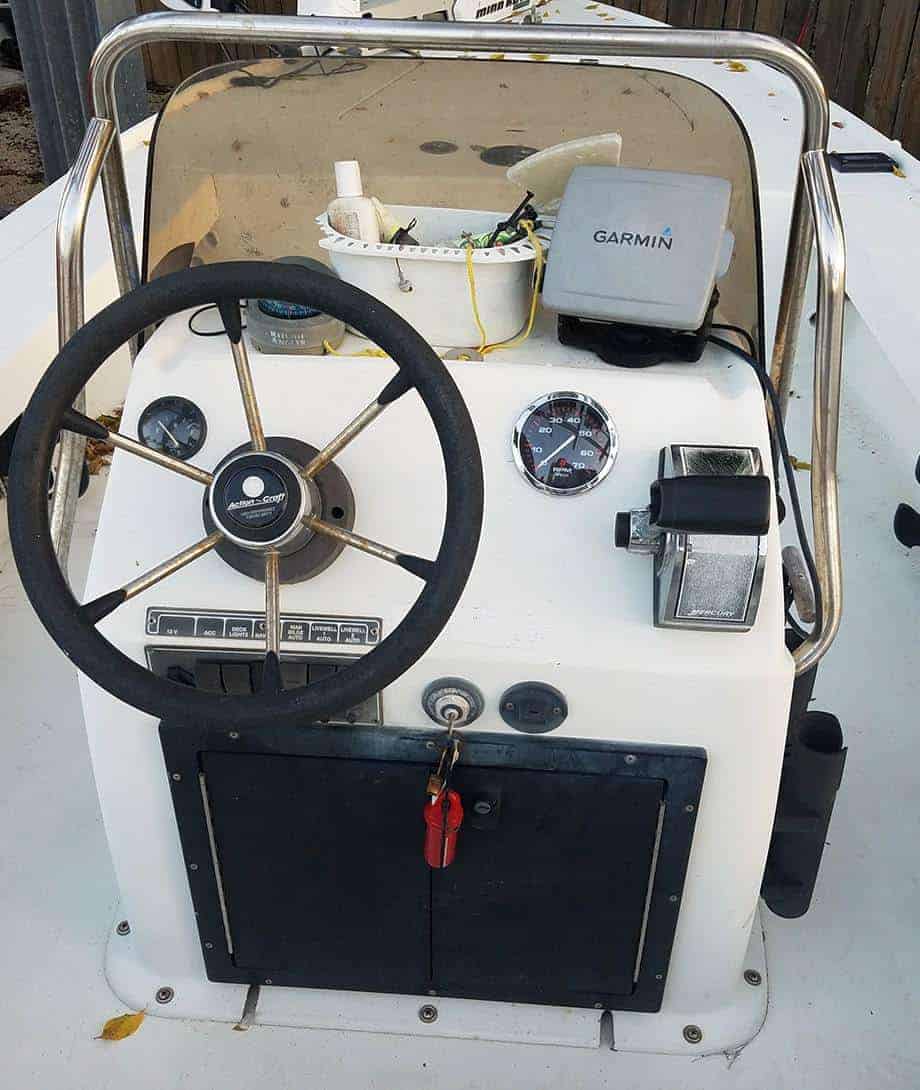
On the other end of the cable is where it is attached to the helm. The helm is bolted to the console of the boat.
Then, depending on which type of mechanical steering we are talking about, has the mechanisms that attach the cable to the helm.
Allowing you to turn the wheel and move the engine in the direction you want to go.
How A Rack and Pinion System Works
There are two different styles of rack and pinion steering systems. You have a single rack and a double rack, or a dual rack.
Basically, there is a bar that attaches to the steering cable. Think of it as a hollow bar. Inside this hollow bar, we have a plate that has teeth all along one side of it.
This flat plate, with teeth on one side of it, attaches to the steering cable.
Then at the helm, we have a rod that attaches to the steering wheel. At the other end of the rod is a round gear, that has teeth on it, that will fit perfectly into the teeth on our plate that is inside of the bar.
The bar is then bolted onto the mechanism that allows the plate and the gear to fit smoothly together. Then, as you turn the steering wheel, the gear spins.
Being connected to the plate, it moves the plate whichever way you are turning the wheel. Making the cable move in or out and thus, turning the engine at the other end of the cable.
The dual rack system works in the exact same fashion. Only it has two cables that are attached to the plate inside the bar. Then it utilizes an attachment system, at the back of the boat, on the engine bracket.
That allows one cable to attach to the outside of the bracket. There will be one cable that goes into the bracket the same way the single cable does.
Then the second cable will attach to the outside, right in front of it, with two little attachment pieces. The two cables are attached together at the end and the steering arm bolts onto that piece, in between the two cables.
This strengthens the system. More on why this is necessary later.
How A Rotary System Works
A rotary steering system, on the other hand, operates in a similar way, with a different mechanism operating the cable.
It, as well, is broken down into the dual cable and single cable systems. Both systems utilize the same style of attachments at the engine, using the bracket and steering arm.
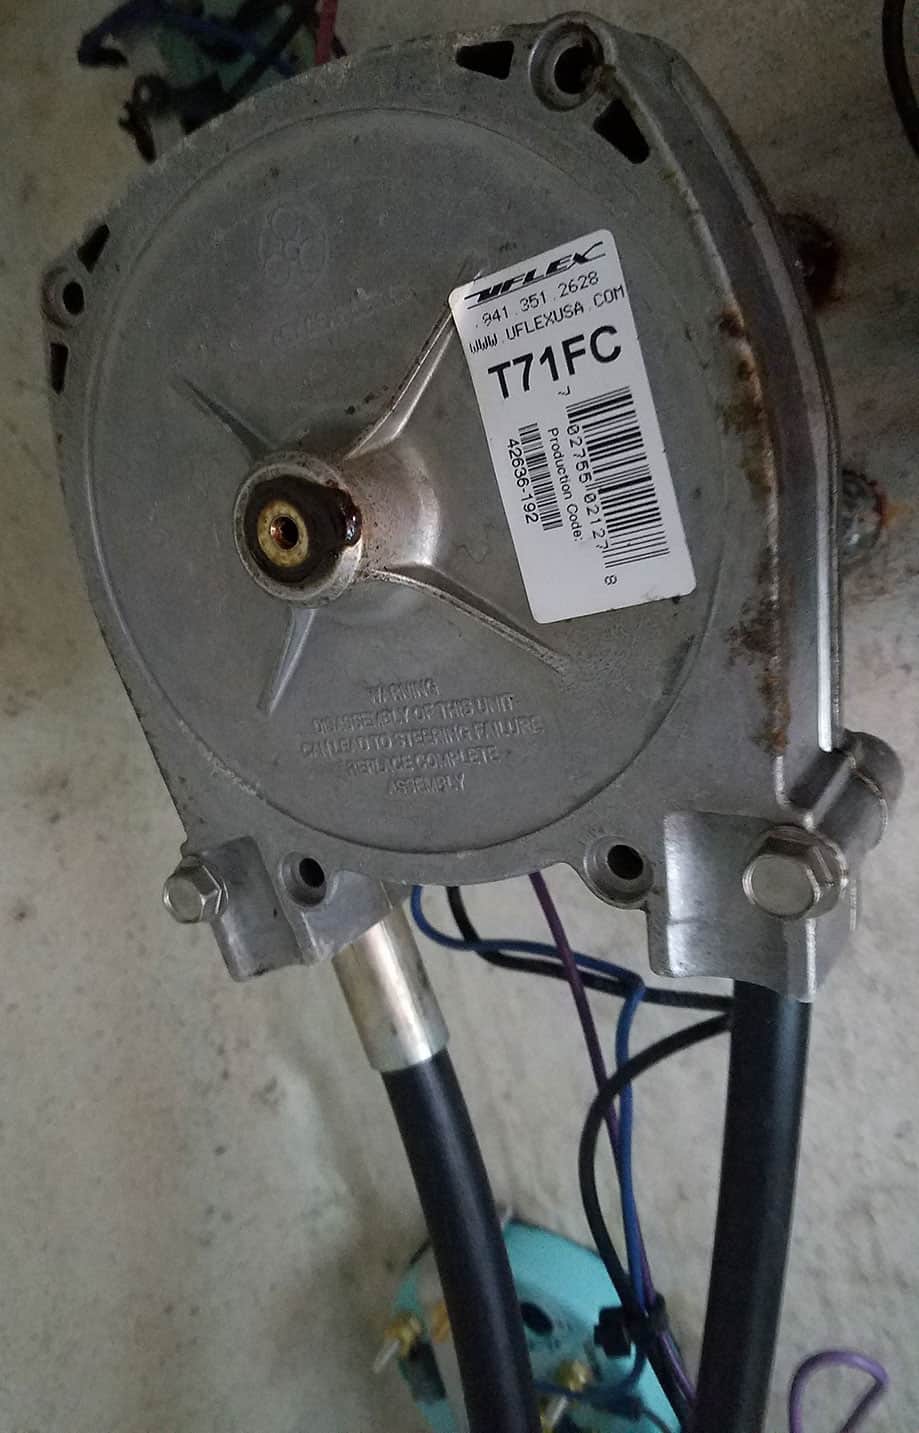
But the rotary style helm utilizes the cable, instead of a plate, like the rack and pinion. In this system, the end of the cable that slides back and forth, inside of the sheath of the cable, is basically the plate that we talked about, in the rack and pinion portion.
The cable has teeth attached around it for about a 12″ portion of the cable.
Then, there is a larger rod style helm that has a gear inside of it, which will have the teeth that fit together with the teeth on the cable.
The cable is fed into the helm. Then, it makes a “U” shape and wraps around the gear or wheel that is inside the helm; coming out the other side.
There is a sheath or holder that attaches to the opposite side where the excess cable goes into, keeping dirt and debris from getting into the helm.
As you turn the wheel back and forth, the cable will either wrap around the gear, or it will be pushed in the opposite direction; turning the engine on the other end, in the direction that you want it to go.
What Are the Different Benefits of Each System?
This will probably be one of the top deciding factors on which system you will use and also which system will be better for you.
The biggest difference between the two is the space that is required for them to be installed.
The rotary system takes up a lot less space and allows the cable to be routed either to the port, starboard or straight down if needed.
This makes it super helpful on smaller boats with little tight consoles.
The rack and pinion, on the other hand, can mainly, only be installed with the cable coming out of the rack to the starboard side.
Also, it typically requires about 24″ from the center of the steering wheel to the side of the gunwale or the helm, in which it is being placed.
Most mechanical steering manufacturers suggest that the cable never makes a bend tighter than about an 8″ bend. So the space issue is a huge decider in which style system will work for your boat.
The rack and pinion is more precise in its application as opposed to the rotary style. The gear on gear design leaves little room for slop. Then, if you use a dual cable system, it is even more precise.
Most mechanical systems that are out now, also have the NFB (No-Feedback) function. This allows for a smoother operation and removes most of the engine torque from the steering wheel.
Meaning, the torque coming from the propeller, whether it be a left hand or a right hand, pushes the engine in either direction.
There are some older engines and inboards that are not compatible with NFB mechanical systems. So, you can still buy non-NFB mechanical steering setups, if you need to.
Another difference, but not much of a decider on which is better (in my opinion), is the lock to lock turns. Most rotary systems have either a 3, 3.8 or 4.2 turn lock to lock feature.
Meaning, that you can go completely turned to one side and in either 3, 3.8 or 4.2 complete turns, of the steering wheel, the engine will move to the complete opposite side.
Rack and pinion, on the other hand, have either 3.5 or 4 turns lock to lock. So you really have basically the same amount of turns available for either style.
I’m using Seastar, Teleflex, and Uflex steering systems for these numbers, because they are the two most common and biggest steering system companies, for mechanical boat steering systems.
What is the Speed Application?
Another very important deciding factor, which is a better system is the speed application and HP of your boat and engine. As far as the HP goes, I personally wouldn’t want to have mechanical steering on anything over 75HP.
Both Seastar and Uflex make systems that can support up to a V-6 outboard engine. But the general rule of thumb for the steering and HP ranges are 2 numbers, 115HP and 150HP.
Anything under 115HP can generally use either system and not have much of a problem. Unless the speed of the boat is greater than 50 MPH.
Anything that is over 50MPH needs to use the double cable system. Whether it be rotary or rack and pinion, really will depend on your helm set up.
There is too much slop and not enough grip for safety in the single cable steering systems to hold up in the higher speed range.
Then, you have 115-150HP. This section here is either mechanical or hydraulic, with the same rule applying for the 50 MPH and up speed range.
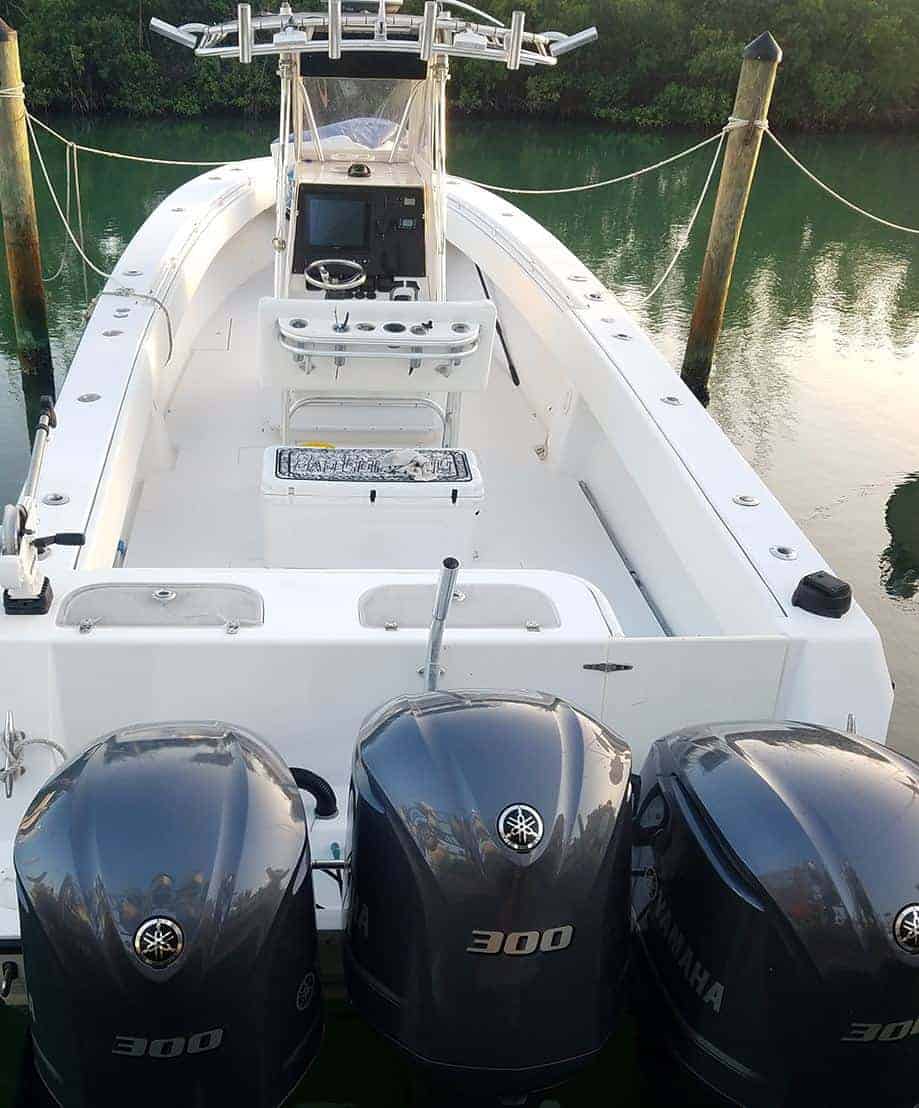
Then anything over 150HP really needs to have hydraulic steering. This is becoming more and more common in the marine industry.
With the torque and control of the engines these days, going into the 600+ HP range for outboards; it just isn’t feasible to have a rack and pinion cable on a 600+ HP engine.
The biggest thing to take away from this is that if your boat has a 115HP engine and does over 50 MPH, then you need to have a double rack and pinion steering system on it.
Otherwise, it’s time to bite the bullet and do the upgrade to hydraulic steering.
Then, if you are really feeling frisky, put power steering on there. Better yet, if you have some money that is bothering your bank account and you just need to get rid of it…
Go ahead and put the autopilot system in and show your neighbors who’s the real angler of your local waters!
What is the Price Difference?
Seriously though, when we are talking about 40’s 50’s, 60’s, even 90’s and 115’s; you really don’t need the hydraulic steering. Or the power steering. There’s just not really a need for it.
Don’t get me wrong, if it’s in the cards, hydraulic is the way to go. All day!
But when we are talking about replacing a mechanical steering system or setting up a little boat for some river fishing, the mechanical steering is a huge budget saver and has been working for decades.
So there’s no need to splurge when you don’t need to. As far as the price goes, the length of the cable doesn’t really affect the price all that much.
Maybe 10, 20, or 30 bucks, depending on which system you are buying. What changes the price drastically is if you are buying a kit, a non-NFB or NFB, and a single or dual cable.
Rack and Pinion Vs. Rotary. For a standard single cable, non-NFB 13′ Rotary or Rack and Pinion Seastar and Uflex helm and cable kit, the prices are between $203-$217.
So there really isn’t a big difference in manufacturer or style. Except for the Uflex rack and pinion, that is surprisingly only $188!
Not really sure why, but at the time of this article, it’s the biggest price change in that style and kits.
As for the NFB or Zerotorque (Uflex NFB), 13′ single cable. The prices came in for the whole kit at $272-$296. Again, not a huge difference between manufacturers and rotary vs. rack and pinion.
Side note. Seastar has a system they call the “Xtreme NFB Mechanical Steering System”. Now that thing was $351! Not really sure what the difference is, but for another $50-$70, it better be smooth!
Now for the dual cable, the prices do change depending on the length of the cable. I noticed that the price basically doubles when you get the double cable.
The price for the rotary only changed about 20 bucks from 12′ to 16′ at $685 to $709. But the rack and pinion, on the other hand, goes from $653 to $711, when going from 12′ to 16′!
Which is pretty considerable and is the only real jump as far as a difference between the rotary vs. the rack and pinion.
Troubleshooting the Helm vs. the Engine
Before considering purchasing a new helm and cable system, I’m sure most of you would like to know what to do if there is a problem and how to get it working again.
In other words, how can I fix this and start using my boat again! So, if the boat isn’t steering, this is what you do:
If you remember us talking about the steering arm earlier, there is a nut attaching the engine steering arm to the steering cable. All you need to do is remove that nut and pull the steering arm out of the steering cable.
Now, grab the engine and see if you can push it over and back and forth. If the engine moves freely, then we know that we have a problem with either the cable, the helm, or the cable is stuck in the bracket.
For a rotary system, pull the pin out from under the helm that is holding the cable in. There should be a little button that you stick that pin in and it will release the cable.
Spin the steering wheel until it ejects the cable. This will tell you if the helm is locked up or not. If not, then the problem is going to be back at the engine.
This is where it gets kind of tricky.
For most outboards and mechanical steering cables, in order to get the cable out of the bracket, the engine will have to be either removed or loosened from the transom.
Sometimes, in addition, air hammers and heat are required.
Turn the steering wheel to retract as much of the cable as possible.
Then find a suitable punch to use. Begin hammering on the end of the cable, to drive it out of the engine bracket. You will need a reamer or a wire brush to clean out all the dirt and old grease from the bracket.
Then inspect the cable to see if you can free it up. More on that later.
Freeing Up a Frozen Outboard Swivel Bracket
This is a pretty labor-intensive task if you have to perform this. To start, we must first get a basic understanding of what is happening.
Inside the swivel bracket of an outboard, especially one that has spent twenty years in saltwater, has a lot of old grease and salt in it.
If left for too long, the grease will dry up because of the salt and actually become sticky.
You will need to drill small holes in the top and bottom of the swivel bracket and later tap and thread them in order to install grease zerk fittings.
As well as removing the OEM fitting from the middle of the bracket. With the holes drilled and fittings out. You will need some extreme heat!
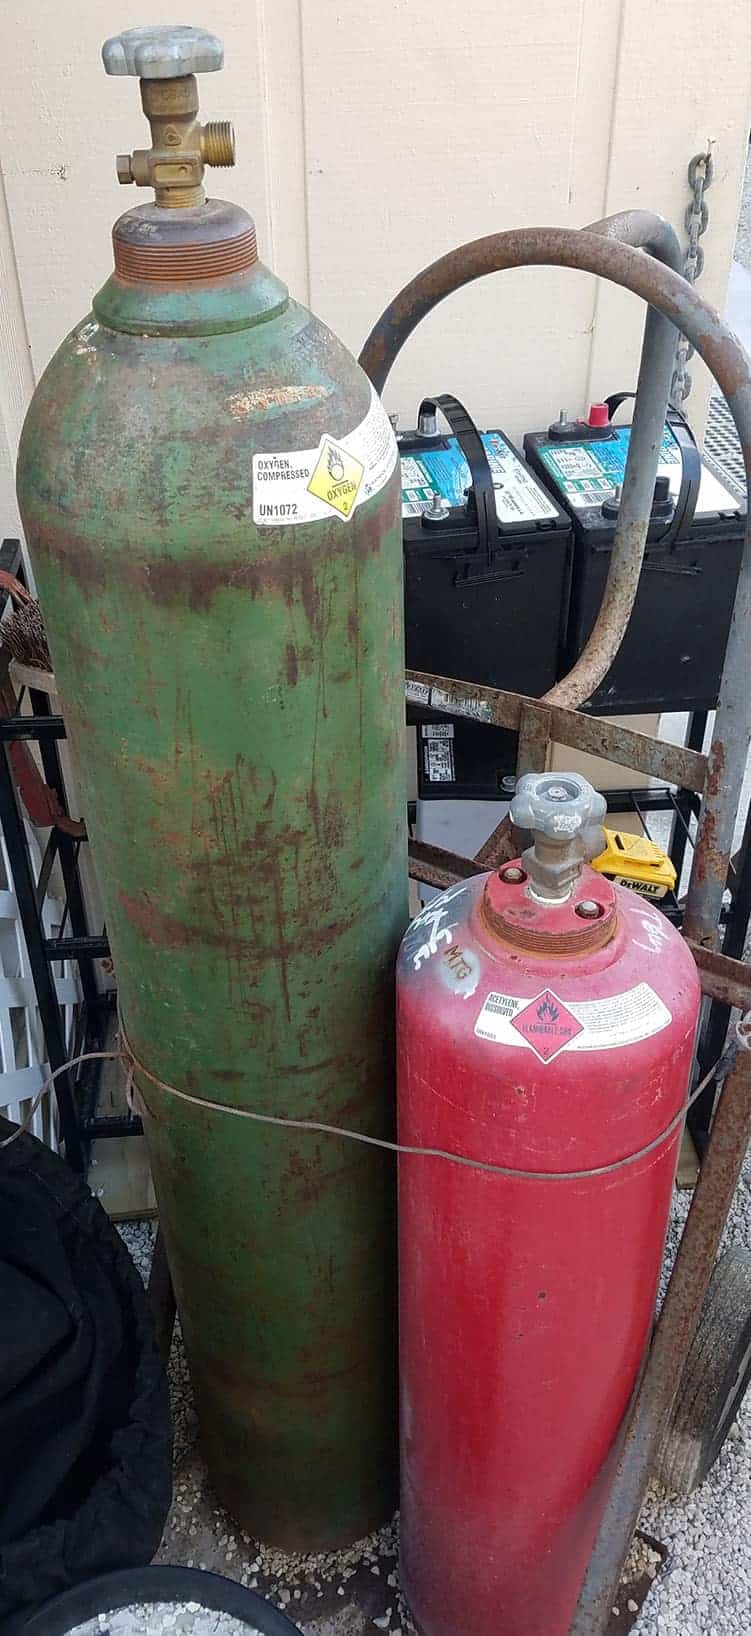
You can start with an Acetylene torch, but sometimes this won’t get it hot enough and you will need an actual gas and oxygen torch to reach the temperatures to melt the old grease!
***** USE EXTREME CAUTION WHEN PERFORMING ANY TESTS LIKE THIS! THIS IS EXTREMELY DANGEROUS AND SHOULD ONLY BE PERFORMED BY A PROFESSIONAL. THIS IS ONLY TO EXPLAIN HOW I PERFORM THIS JOB AND NOT TO BE USED AS ADVICE! I AM NOT LIABLE FOR ANY DAMAGES OR INJURIES CAUSED BY ANYONE WHO TRIES TO DO THIS!!! *****

After I remove the chaps and other burnable and melt-able items away from the swivel bracket. I will use the torch to evenly heat up the tube that houses the grease and swivel pin.
Then using either one of two methods I will push the old grease out the bottom and top of the bracket.
By either using air from an air compressor, having rags, proper protection for me and my arms, hands, face, and things around me.
Using cardboard or other items to block the boiling grease when it comes out of the bracket from spraying me or anything around it.
Using quick bursts of air into the middle of the bracket where the zerk fitting goes, I will slowly force the old grease out.
Carefully being mindful that after using air, the inside is pressurized so when I take the air nozzle off, grease will be coming out behind it! Short bursts help to reduce this pressure.
Or I will leave the middle zerk fitting in and use a grease dispensor to force the old grease out. This is the best and most commonly used method to perform this task. It is rare to have to use the air.
This will get the old grease out and new grease in. Remember, if there is old grease left in the swivel bracket when new grease is inserted into the middle; it will push the old stuff to the top and bottom.
This can build up and create a blockage, freezing the swivel bracket again. Then you will need to perform all these tasks again!
Can You Free Up a Frozen Mechanical Steering Cable?
Shortly put, yes, sometimes. Sometimes it is possible to remove the steering cable from the engine and clean out the bracket and tube where the cable goes.
Along with cleaning up the steering cable where it goes in and out; if dirt and debris build up in this area, it can cause the cable to get tight and freeze up.
It isn’t every time that you can just give it a good cleaning and free up the cable. But there are certain instances where it does work.
You can also try and force ATF fluid into the cable at the end and slowly let it run into the cable. Moving the cable in and out to work the fluid into the cable.
This can also work sometimes in a pinch in order to get the cable moving and the boat steering again.
However, what we have found over the years is that for the cost of the cable and the time it takes to save an old mechanical steering cable; it’s better to replace it.
All the time that it takes to remove the cable from the engine, just to find out that after it isn’t used for a couple of months; it is just frozen up again.
Putting you back in the same boat that doesn’t steer! Therefore, you might as well just get a new cable. But, if you have to do it on the cheap; 9 out of 10 times the helms are still good.
Or, you can order a replacement cable for anywhere from $100-$200. Remember though, for only an additional $50 you can get a new helm and everything!
Is it Worth the Upgrade for Hydraulic Steering?
We have already sort of covered this earlier. But real quick we’ll touch on it again. To me, I would rather have the hydraulic steering. But that all depends on the boat!
Smaller flats boats with a 40HP engine don’t really need to have the hydraulic system. It is a lot more responsive and smoother, that’s for sure.
But depending on the situation. It isn’t always in the cards. If you have the opportunity to put together a hydraulic steering system for your boat. It’s well worth it in my opinion!
You can usually put a used system together for under $1000. That includes the helm, the steering cylinder, all the hardware, and the hoses.
Depending on your location you can get that number down even lower if you know the right people! Craigslist and eBay are great sources to part together a beautiful hydraulic steering system.
Check Us Out!
If you’ve got any questions or comments, let us know by subscribing to our YouTube Channel!
And if you would like to support us to continue bringing you great content, please click the link below to Amazon where we get a commission from anything you are already going to buy!
Click Here To Amazon!
And you can also donate by clicking the donate button here or on the right hand of the screen!
It really helps us out and we thank you so much for your support!
Thanks for reading and we look forward to reading your responses and comments.
We’d like to invite you to come and check us out on our YouTube Channel: Born Again Boating! We make all kinds of boating and how to outboard repair videos with new uploads every single week!
We also give a sneak peek into the life of a Marine Technician. Come along with me for a day and see what a normal Tuesday looks like on our Technician’s Tuesday series.
Where every Tuesday at 4:45 PM EST we upload a video showing exactly what jobs we performed and how we did it for an entire 8 hour Tuesday at a busy Marina in the beautiful Florida Keys!
Get subscribed to the channel so you’ll never miss an upload and add us to your favorites list so we can be your go-to resource when you need to figure out a DIY project on your boat!