
A guy wrote in about his 2016 Suzuki 200. Runs fine to 3,000 RPM, try to go wide open and it bogs back down. His mechanic replaced the VST. Same problem. Then replaced the high pressure fuel pump inside the brand new VST. Same problem.
That’s a lot of money spent before anybody ran the engine on a six gallon tank to find out whether it was even an engine problem.
I see this constantly, and it’s the most expensive habit in boating. We covered a pile of listener questions on this episode of the podcast, and almost every one of them came back to the same thing: isolate the problem before you buy anything.
Why It Matters
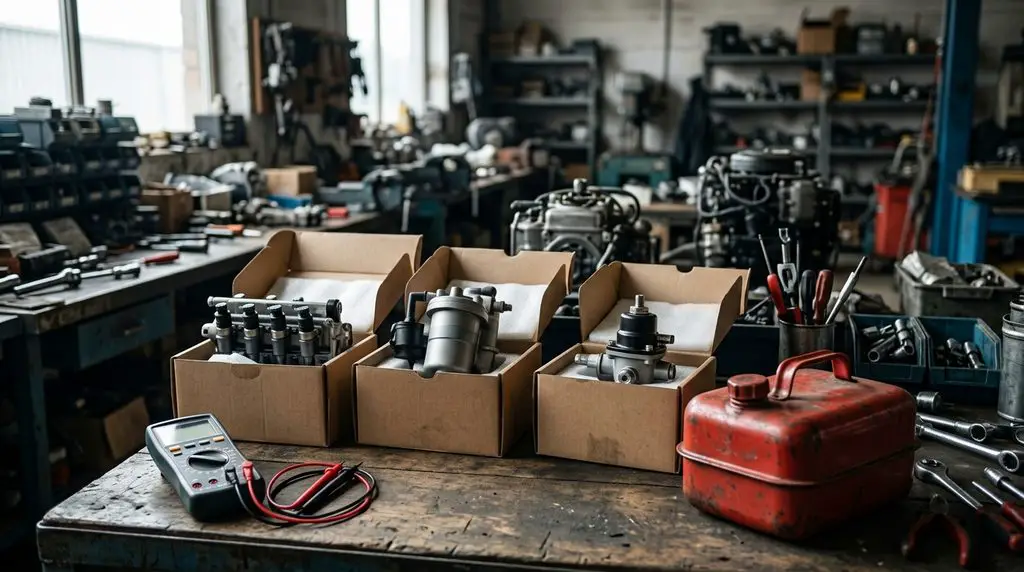
Parts for these engines have gone insane. An L6 powerhead used to be around $10,000. Now you’re looking at $17,000. An FSM for a V8 runs somewhere around $1,000 to $1,200 each.
We had a rental boat at the marina come in and somebody replaced both FSMs on a set of V8s. That’s roughly $2,400 in parts alone. On those V8s you have to pull the boat out of the water to get the chaps off, so add a couple hours to the ramp and back, plus clamps and labor, and you’re a day to a day and a half deep.
It was the engine fuel filters. The ones tucked in the back corner. They were clogged.
Nobody checked the cheap thing first.
Products
- Six gallon auxiliary fuel tank, properly vented — the single fastest way to separate an engine problem from a boat problem.
- Clear fuel hose — lets you see air bubbles or a primer bulb collapsing at the engine.
- Multimeter — reads resistance on a NMEA 2000 backbone, which is how you find a bad T.
- NMEA 2000 T-connectors and terminator resistor — the 120 ohm terminators define your network, and cheap off-brand Ts are a known failure point.
- Infrared temp gun — tells you which cylinder or manifold section is running hot before you disassemble anything.
- 1700 PSI electric pressure washer — plenty for washing a boat without destroying gelcoat.
- Corrosion inhibitor spray and marine grease — the baseline for keeping saltwater off everything.
- Sacrificial anodes — change them regularly, not when they’re gone.
Step-by-Step Guide
1. Separate The Engine From The Boat
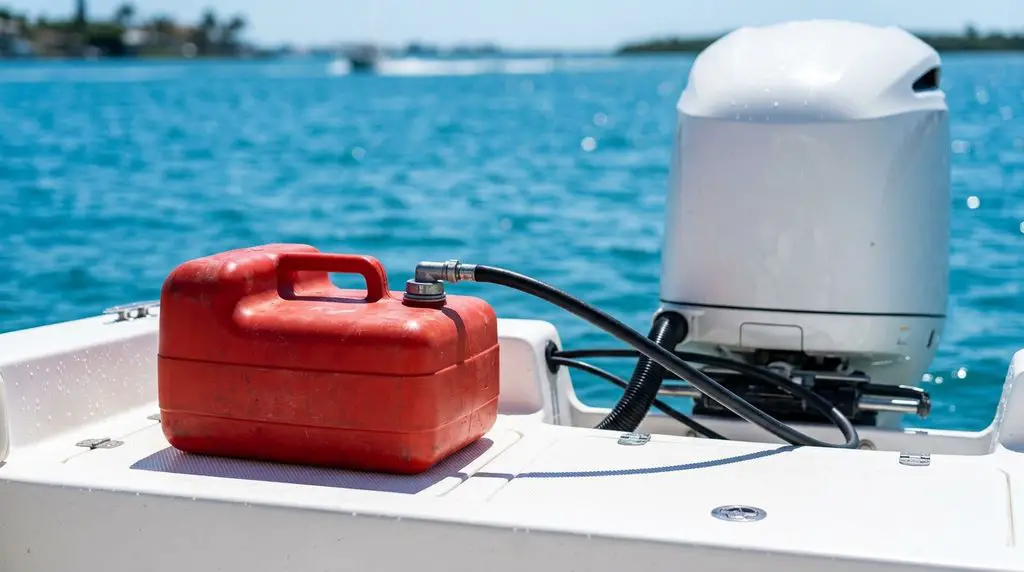
This is the first move on any running issue. Carry a little red tank onto the boat, run the fuel straight to the engine’s fuel filter, and go.
If it runs fine on the aux tank, you don’t have an engine problem. You’ve got a restriction or a leak somewhere in the boat. If it still acts up, you’ve isolated it to the engine.
That one test would have saved the Suzuki owner a VST and a high pressure pump.
2. Work The Fuel Path Backward
If the aux tank proves it’s a boat problem, put a piece of clear hose right at the engine and look. Bubbles mean air getting in. A primer bulb squeezing flat means a restriction. Then work back hose by hose, all the way to the pickup, and pull the pickup out of the tank.
3. For Electronics, Test The Backbone
I worked on a 37 foot center console this week throwing a lost heading alarm every couple of minutes. The owner wasn’t even using the autopilot and it kept alarming.
Every standard troubleshooting guide, Garmin’s included, assumes your network is good. Follow those guides and they’ll tell you the CCU is bad. On a steer by wire boat that’s a $2,500 computer.
Here’s what I actually did. A NMEA 2000 backbone is a data line with a 120 ohm terminator at each end. The terminators tell the network where it starts and stops. Check the terminator first, confirm it reads 120, then put it on the backbone and walk device by device checking for that 120 ohms. Unplug something, check, move on.
I got through eight devices. Displays, stereo, VHF, all good. Then I hit a T fitting and it jumped to 132 ohms. Normal is 118 to 120.
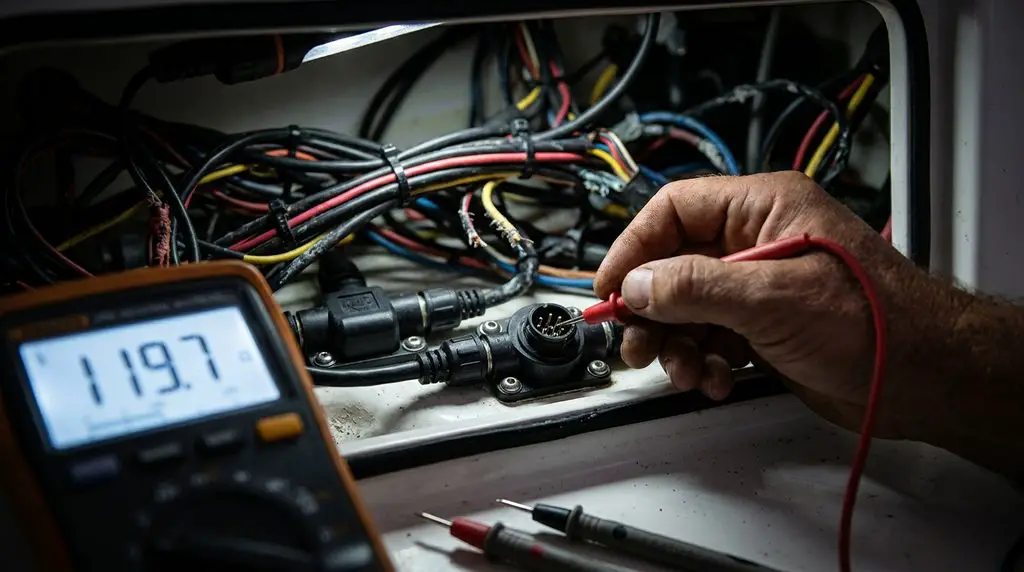
Two cheap off-brand Ts were each adding five to seven ohms. On top of that, there was resistance coming from somewhere in the SeaKeeper harness. Ts are supposed to mount straight with drops hanging off them, and people zip tie them bent sideways into whatever they’re mounted to.
A T connector costs ten or fifteen bucks. That’s what the $2,500 computer was actually worth.
The longer the run, the more precise your resistance has to be. A short network tolerates sloppiness. Run 100 to 150 feet and it won’t.
4. Use A Temp Gun Before You Take Anything Apart
A guy wrote in about a Ford 302 inboard with a new raw water pump and new risers, and the left riser still runs hot.
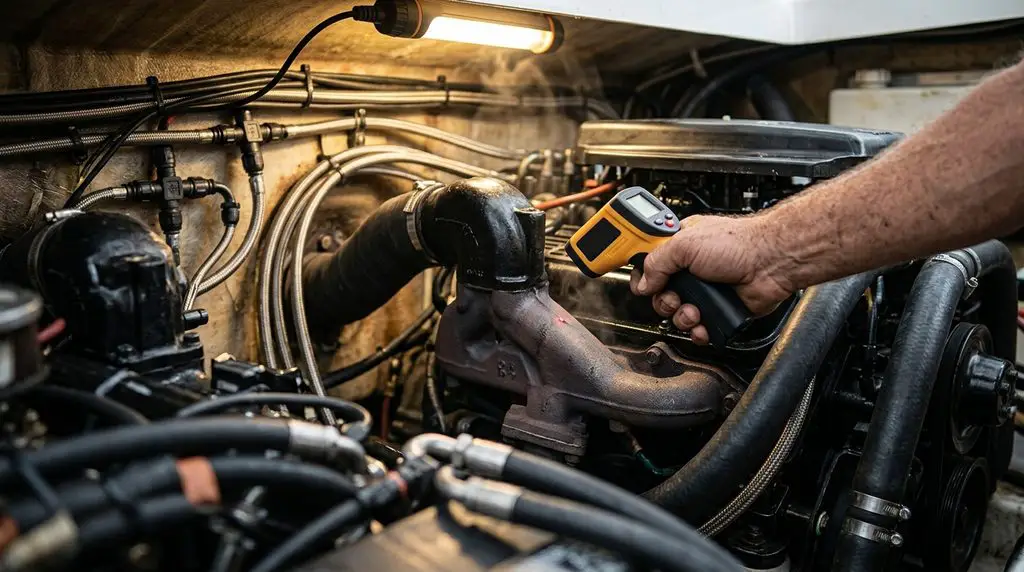
Before pulling more parts, go down the manifold with a temp gun. Each riser comes up and the manifold runs out with its own channel. Check them one at a time. If the front half of the port side is 20 degrees hotter than the back half, now you know roughly where the blockage sits. Then pull the risers, push water through, and watch whether it flows freely or trickles.
Sand and dirt pack into water passages in the head and the block. That’s what overheating on one side usually is.
5. Check Mechanical Before You Blame Hydraulics
Somebody asked about hydraulic steering with a tiny bit of play, less than a quarter turn, and the motors shifting slightly in rough water.
A little play is normal. You’re pushing fluid one direction and reversing it, so there’s always a moment before flow starts back the other way. An eighth of a turn is fine, and older systems have more wear.
What I’d actually check is the collar where the steering cylinder connects to the engine. It screws out and tightens the cylinder to the engine. We inspected a 26 foot bay boat with about 50 hours on it, almost new, and both engines were moving because the factory never tightened that set screw collar. The whole ram was rocking.
Look at the cylinder and figure out whether it’s moving mechanically or hydraulically before you bleed the system again.
Pro Tips
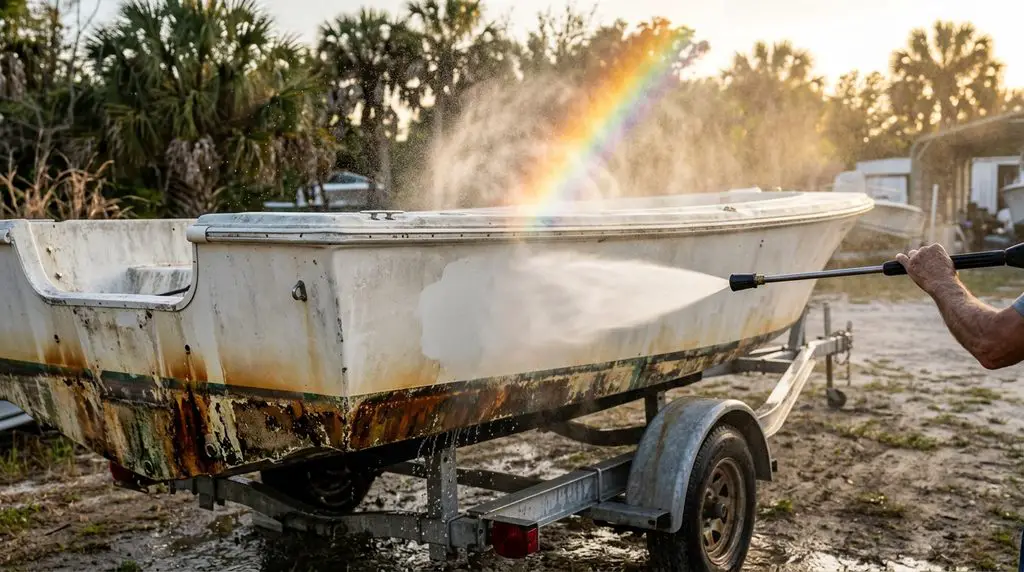
1700 PSI is plenty for washing. The damage I’ve caused with a pressure washer has always been bottom cleaning, where you need two to four thousand PSI to get growth off before it dries and turns rock hard. That growth already eats into the gelcoat, so when you blast it off, it chips. I’ve seen older hulls chip right at the waterline. And I’ve watched people climb inside a boat and blow holes through the interior. If you’re punching holes, back off.
ABYC wire colors will save you hours. Neither of us is ABYC certified, but we follow it where we can, and the wire colors are the part that pays off daily. Blue is remote for the amp, pink is fuel sender, yellow or black is ground, red is power, a tracer means switched. You stop chasing wires and start reading them.
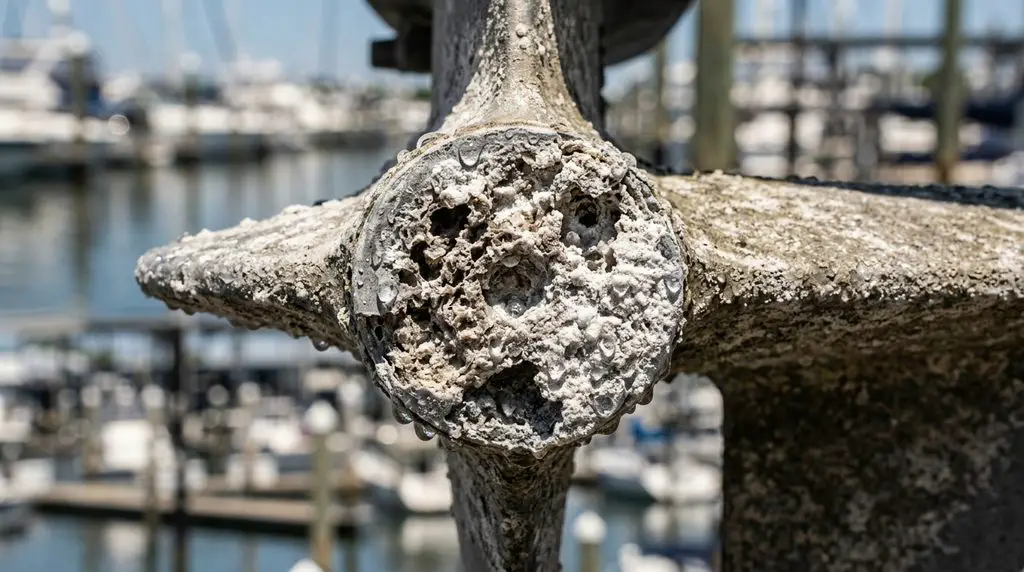
Salt never stops. We came up in the Keys, where the air itself is loaded with salt, and if a boat sits it’s corroding. Change your anodes regularly, keep things greased, hit everything with corrosion inhibitor, and don’t let it sit. Freshwater boats are a different world. You can wax twice a year up there and be fine. In salt you can wax and need it again in two months.
Final Verdict
Diagnose it yourself, or at minimum make sure whoever’s working on your boat is diagnosing and not guessing.
You can’t always reach a conclusion over the phone or in a comment section. There are physical tells you only get standing in front of the thing, like dust in the wrong place or one spark plug that’s gone completely white. But the process is the same every time: isolate the system, test it on its own, and go component by component.
The cheap stuff comes first. Fuel filters before FSMs. T connectors before autopilot computers. Clear hose before a VST.
Throwing parts at a problem is the most expensive way to find out you were wrong.
FAQ
How do I know if it’s an engine problem or a boat problem?
Run the engine off a properly vented six gallon auxiliary tank, fuel going straight to the engine’s fuel filter. Runs fine, it’s a boat problem. Still acts up, it’s the engine.
What resistance should a NMEA 2000 network read?
Around 118 to 120 ohms. Each terminator is 120 ohms and they define the ends of the backbone. Anything meaningfully above that, like the 132 I found, points at a bad T, a bent connector, or a device harness adding resistance.
What PSI will damage boat gelcoat?
Depends on the age and build of the boat. On older hulls with dry, thin gelcoat and any voids, high pressure chips it. 1700 PSI gets you close enough for washing without blowing anything out. The three to four thousand PSI you need for bottom growth is where damage happens.
Check Us Out!
We hope that this has been insightful and allowed you to understand a little bit more about outboard engine maintenance and what goes into keeping your boat running right.
If you have more questions or want to learn more about your boat and its different systems, consider joining our Boating Academy where we have created HUNDREDS of video courses teaching you basically everything about your boat!
You can also find even more helpful videos on our YouTube channel where we create even more boating videos!
And if you would like to support us to continue bringing you great content, please click the link below to Amazon where we get a commission from anything you are already going to buy! Click Here To Amazon!